
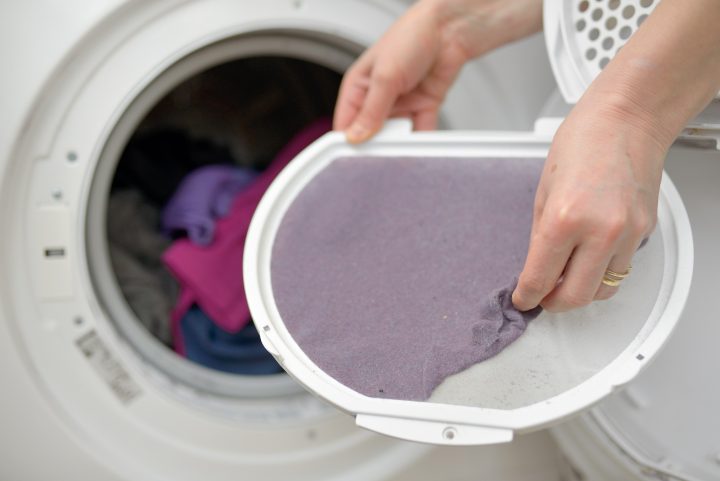
If your dryer vent takes forever and a day to dry, it might be time to learn how to clean the dryer vent. Ask yourself, honestly, when was the last time you did it. Maybe never? We’re not talking about the screen inside the dryer. We’re talking about the silver tube exhaust system that carries all the hot, wet air outside.
Your dryer’s exhaust system can get clogged with lint, which will keep your dryer from functioning properly. As a result, the dryer will not only take longer to dry clothes, it will also increase your electric bill and create a fire risk. It’s a lose-lose-lose proposition.

5 Mistakes to Avoid When Cleaning Your Dryer Vent
1 Forgetting to Unplug the Dryer Vent
Safety first: One of the most important dryer-vent cleaning tips is to remove the machine’s power cord from the wall outlet to avoid getting shocked. For gas-powered appliances, turn off the gas supply to prevent leaks.
2 Using the Wrong Equipment
Tiny dryer lint fibers can cling to the walls of the duct, so it’s worth investing in equipment that does the job right. The Lint Lizard, about $30, attaches to the end of your vacuum cleaner and is very good at sucking up dryer debris. The Everbilt Dryer Vent Cleaning Kit, about $17, comes with attachments for cleaning long ducts.
3 Attempting to Clean a Long Dryer Vent Yourself
While some basic equipment and DIY skills should work for most homes, it’s worth calling in a professional if your dryer has an especially long duct. Most can do the job for about $100.
4 Neglecting to Check the Duct for Damage
While you’re cleaning the duct, take the opportunity to go over its surface to check for cracks or tears. Patching them up will help your dryer run optimally.
5 Bending the Duct Too Much
Ducts bend fairly easily when you handle them, which you’ll want to avoid. When you reattach the duct to the dryer, make sure there are no sharp turns or bends in the tube, which will create crevices for lint to accumulate and may lead to breaks.
6 Reattaching the Duct with Duct Tape
Despite its confusingly spot-on name, this is perhaps the only thing duct tape can’t do. It can corrode from the heat of the dryer. Better to use aluminum tape, which can take the dryer heat.
7 Routing the Vent Into an Attic or Crawlspace
Remember, the lint that accumulates in your dryer vent is flammable. There’s only one place the exhaust should be going to maintain dryer vent safety, and that’s outdoors. Stick to cleaning your dryer vent, and leave any major work, like rerouting the vent, to the pros.
How to Clean Your Dryer Vent Safely
- Unplug the dryer or turn off the gas supply.
- Pull the dryer away from the wall.
- Detach the duct, the wide tube that sends the dryer exhaust outside.
- Shake out loose lint and use a vacuum cleaner and tools to remove the remaining lint from the duct
- Vacuum lint from the outside vent.
- Clean the floor around the dryer to get rid of debris.
- Check the dryer duct for any cracks or tears and replace the duct if damaged.
- Carefully reattach the dryer vent with screws, clips, or aluminum tape.
- Return the dryer to its normal position.
- Turn the power supply back on.