
When it comes to maintaining commercial dryers, businesses have the option to either hire professional cleaning services or handle the task in-house. Transitioning to the topic of in-house commercial dryer cleaning, taking on the responsibility internally can offer several advantages, including cost savings and increased control over the maintenance process. In this blog post, we will provide you with a comprehensive guide to in-house commercial dryer cleaning, empowering your business to ensure optimal dryer performance and safety.
To begin, gather the necessary tools and supplies.
Transitioning to the topic of tools and supplies, you’ll need a vacuum cleaner with a hose attachment, a lint brush, microfiber cloths, a screwdriver, and a cleaning solution. These tools will help you effectively clean the various components of your commercial dryer.
Start by cleaning the lint trap.
Transitioning to the first step, remove the lint trap from the dryer and use a vacuum cleaner with a hose attachment to suction out any lint or debris. Be thorough in your cleaning, ensuring you reach all corners and crevices of the lint trap.
Next, clean the exhaust vent.
Transitioning to the topic of exhaust vent cleaning, disconnect the vent from the back of the dryer and inspect it for any blockages. Also, Use the vacuum cleaner and lint brush to remove any lint buildup and ensure proper airflow. Additionally, wipe down the vent with a microfiber cloth dampened with a mild cleaning solution to remove any residue.
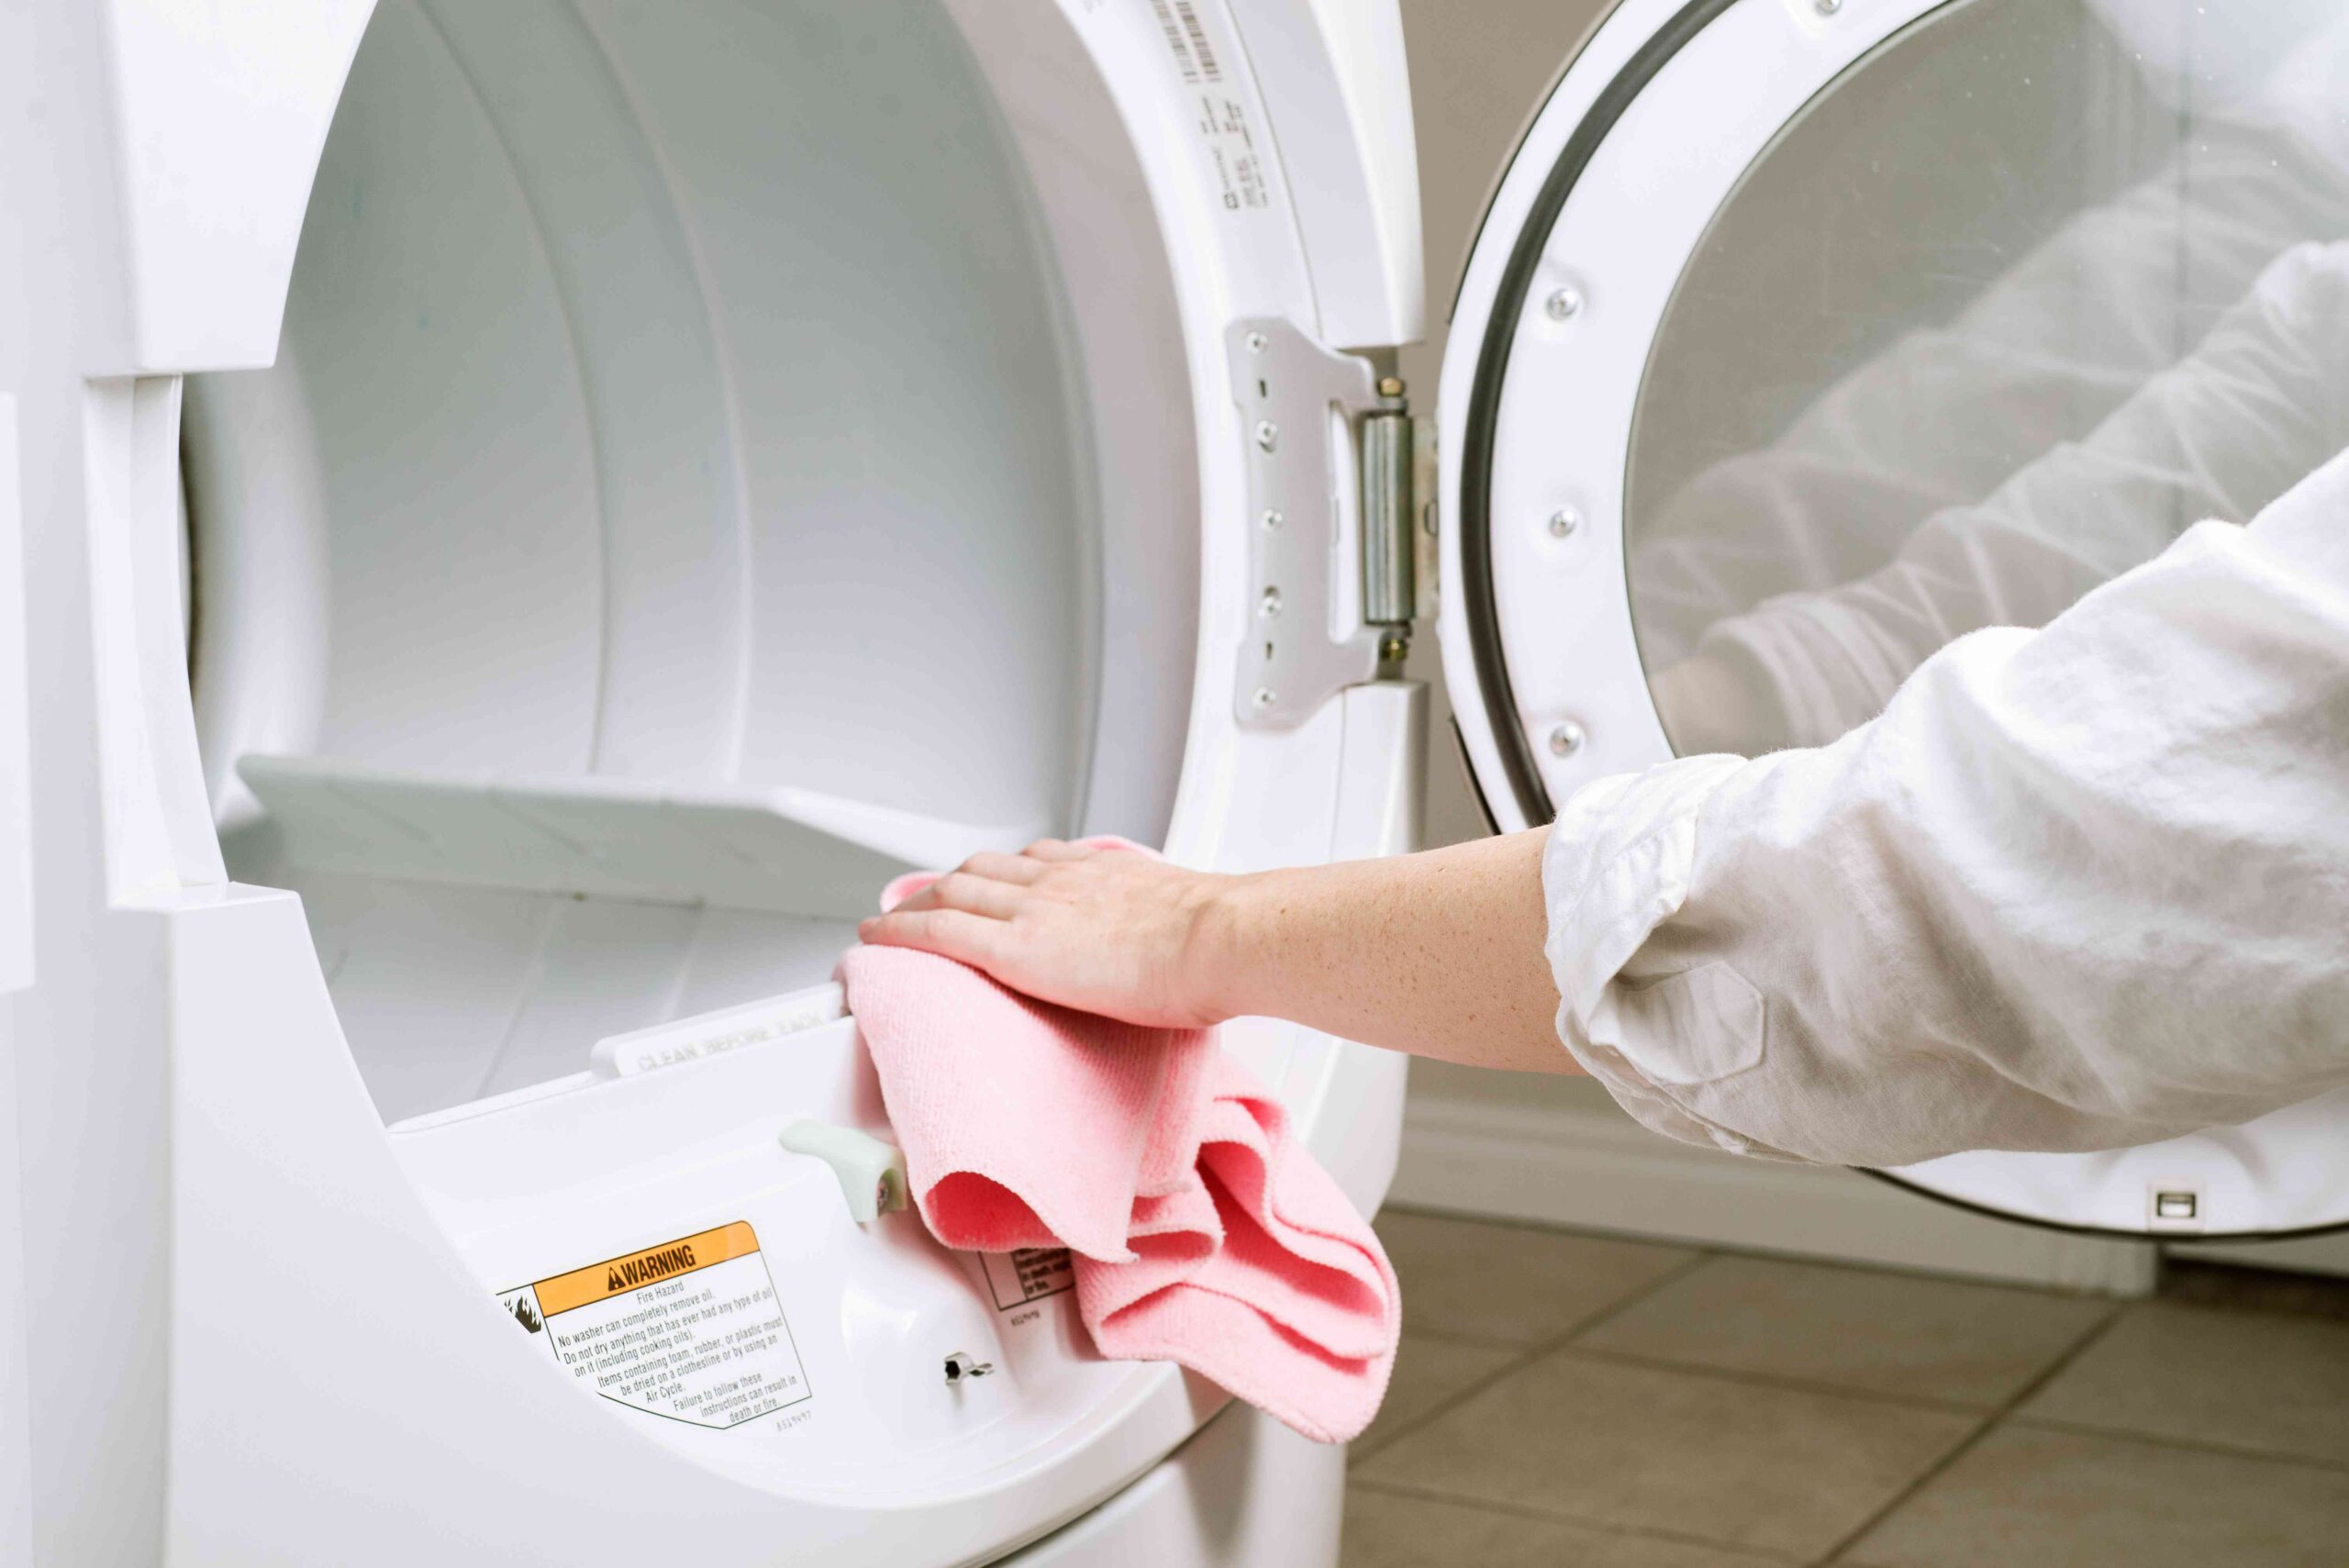
Now, it’s time to clean the dryer drum and interior.
Transitioning to the topic of dryer drum and interior cleaning, wipe down the interior surfaces of the dryer, including the drum, with a microfiber cloth.Also, Pay attention to any areas where lint or debris may have accumulated, such as around the drum seals and in the corners.
Don’t forget to clean the exterior of the dryer.
Transitioning to the topic of exterior cleaning, use a microfiber cloth dampened with a mild cleaning solution to wipe down the exterior surfaces of the dryer. Also, This will remove any dirt, dust, or stains, keeping the dryer looking clean and presentable.
Inspect and clean the exhaust duct.
Transitioning to the topic of exhaust duct cleaning, inspect the duct for any signs of damage or blockages. Use the vacuum cleaner and lint brush to remove any lint or debris that may have accumulated. Ensure that the duct is properly connected and secure.
Lastly, perform a test run to ensure everything is in working order.
Transitioning to the final step, reconnect the exhaust vent, plug in the dryer, and run a test cycle. Observe the dryer’s performance, including the airflow and drying efficiency, to ensure that everything is functioning properly.
In conclusion, in-house commercial dryer cleaning can be a cost-effective and efficient solution for businesses. Transitioning to the final thoughts, by following these step-by-step instructions and incorporating regular dryer cleaning into your maintenance routine, you can optimize dryer performance, extend equipment life, and improve safety in your business. Remember, if you encounter any challenges or have concerns about the cleaning process, it’s always wise to consult the dryer manufacturer’s guidelines or seek assistance from a professional when needed. Happy cleaning!