
Maintaining a clean and properly functioning dryer vent is essential for the safety and efficiency of your home. Regular cleaning can prevent fire hazards, reduce energy consumption, and extend the lifespan of your dryer. While professional services are available, you can also take matters into your own hands with these DIY dryer vent cleaning techniques. In this guide, we will provide you with a step-by-step process to help you clean your dryer vent effectively and ensure a safer and more efficient home.
Step 1: Gather the necessary tools
Before starting the cleaning process, gather the following tools: a vacuum cleaner with a long hose attachment, a vent brush, a screwdriver, and a dryer vent cleaning kit. These tools will help you effectively remove lint and debris from your dryer vent.
Step 2: Disconnect the dryer
To begin cleaning, unplug the dryer from the power source and turn off the gas supply if you have a gas dryer. This step ensures your safety while working on the vent.
Step 3: Remove the dryer vent cover
Locate the vent cover on the exterior of your home. Use a screwdriver to remove the screws securing the cover in place. Set the screws aside safely to avoid losing them.
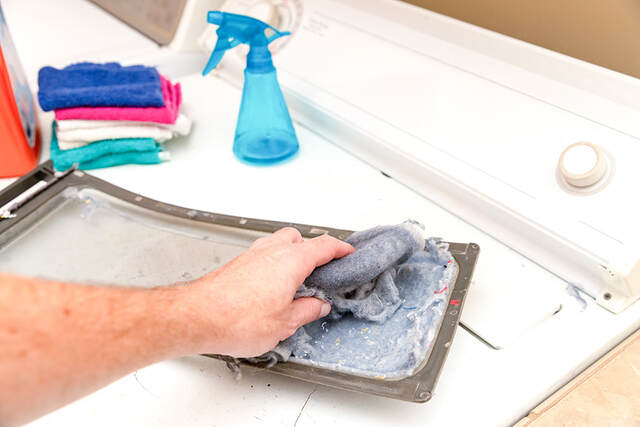
Step 4: Clean the vent cover and opening
Once the cover is removed, clean it using a brush or vacuum to remove any accumulated lint or debris. Inspect the opening of the vent as well, and clean it thoroughly.
Step 5: Clean the vent duct
Insert the vent brush or dryer vent cleaning kit into the vent duct. Gently push the brush or kit further into the duct, rotating it as you go. This motion will help dislodge any lint or debris clinging to the walls of the duct.
Step 6: Vacuum the vent
Attach the long hose attachment to your vacuum cleaner and insert it into the vent duct. Move the hose back and forth to ensure all loose lint and debris are sucked out. Continue this process until no more lint or debris is visible.
Step 7: Reassemble and test
Once you have cleaned the vent duct thoroughly, reattach the vent cover using the screws you set aside earlier. Plug the dryer back into the power source and turn on the gas supply, if applicable.
Step 8: Run a test cycle
To ensure the vent is clean and functioning properly, run a test cycle with a load of laundry. Observe the drying time and check for any unusual odors or excessive heat. If everything appears normal, congratulations! You have successfully cleaned your dryer vent.
Conclusion
Regularly cleaning your dryer vent is a simple yet crucial task that can significantly improve the safety and efficiency of your home. By following these DIY techniques, you can remove lint and debris, reduce the risk of fire, and optimize the performance of your dryer. Remember to perform this maintenance task at least once a year or more frequently if you notice any warning signs of a clogged vent. With a little effort and the right tools, you can enjoy the peace of mind that comes with a clean and well-maintained dryer vent techniques.