
To thoroughly clean your dryer vent, you’ll likely need to disconnect and remove parts of the vent system. Properly disassembling, cleaning and reassembling the vent will ensure optimal airflow and dryer performance once reconnected.
Disassembling Dryer Vent Parts
First, shut off power at circuit breaker. Always disconnect power before working on any appliance vent.
Detach vent hose from dryer and wall. Use pliers to loosen hose clamps securing vent hose to dryer and wall outlets. Twist hose counterclockwise to detach.
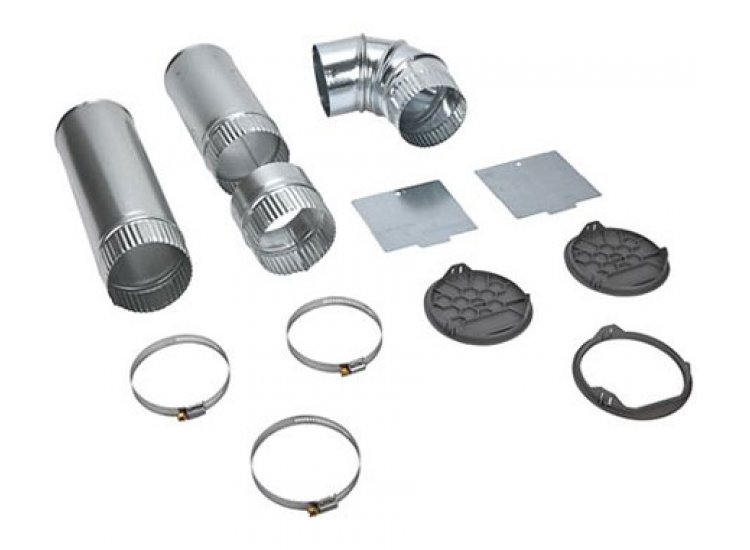
Furthermore, unscrew vent tube sections. Use a screwdriver to loosen screws connecting rigid metal vent tube segments. Separate individual 4-foot sections for thorough cleaning.
Additionally, detach vent hood or cap. Outside vent caps usually attach with screws that need to be removed to take the cap off for cleaning.
Consequently, place all vent parts in easy-to-reach location for cleaning. Arrange vent tubes, flexible hose sections, vent cap and any other parts in a large container or on newspaper for washing or vacuuming.
Cleaning Your Dryer Vent Parts
Vacuum vent tubes and hood. Use the brush attachment on your vacuum cleaner to loosen and remove built-up lint from all interior ridges and seams of metal vent tubes and hood.
In addition, scrub with long handled brush. For any stuck-on lint or debris, use a specialized vent brush with extended handle to scrub all interior vent tube surfaces.
Wipe vent parts with cleaning solution. Apply a solution of baking soda and mild soap to a cloth and wipe all interior and exterior vent surfaces to remove grease and finish cleaning.
Finally, rinse and dry thoroughly. Use a hose attachment to blast water through all vent parts, tubes and hood to remove any remaining residue. Wipe parts dry before reassembling vent system.
In summary, properly disassembling your dryer vent into all removable parts and then thoroughly vacuuming, scrubbing, washing and rinsing each section will ensure a complete and effective cleaning. Reassembling a fully dried vent system with all screws and clamps tight will optimize air flow through the dryer, improving efficiency and performance for months to come. So power down your dryer, take apart any removable sections and give every vent part a thorough wash for fresh, lint-free airflow.