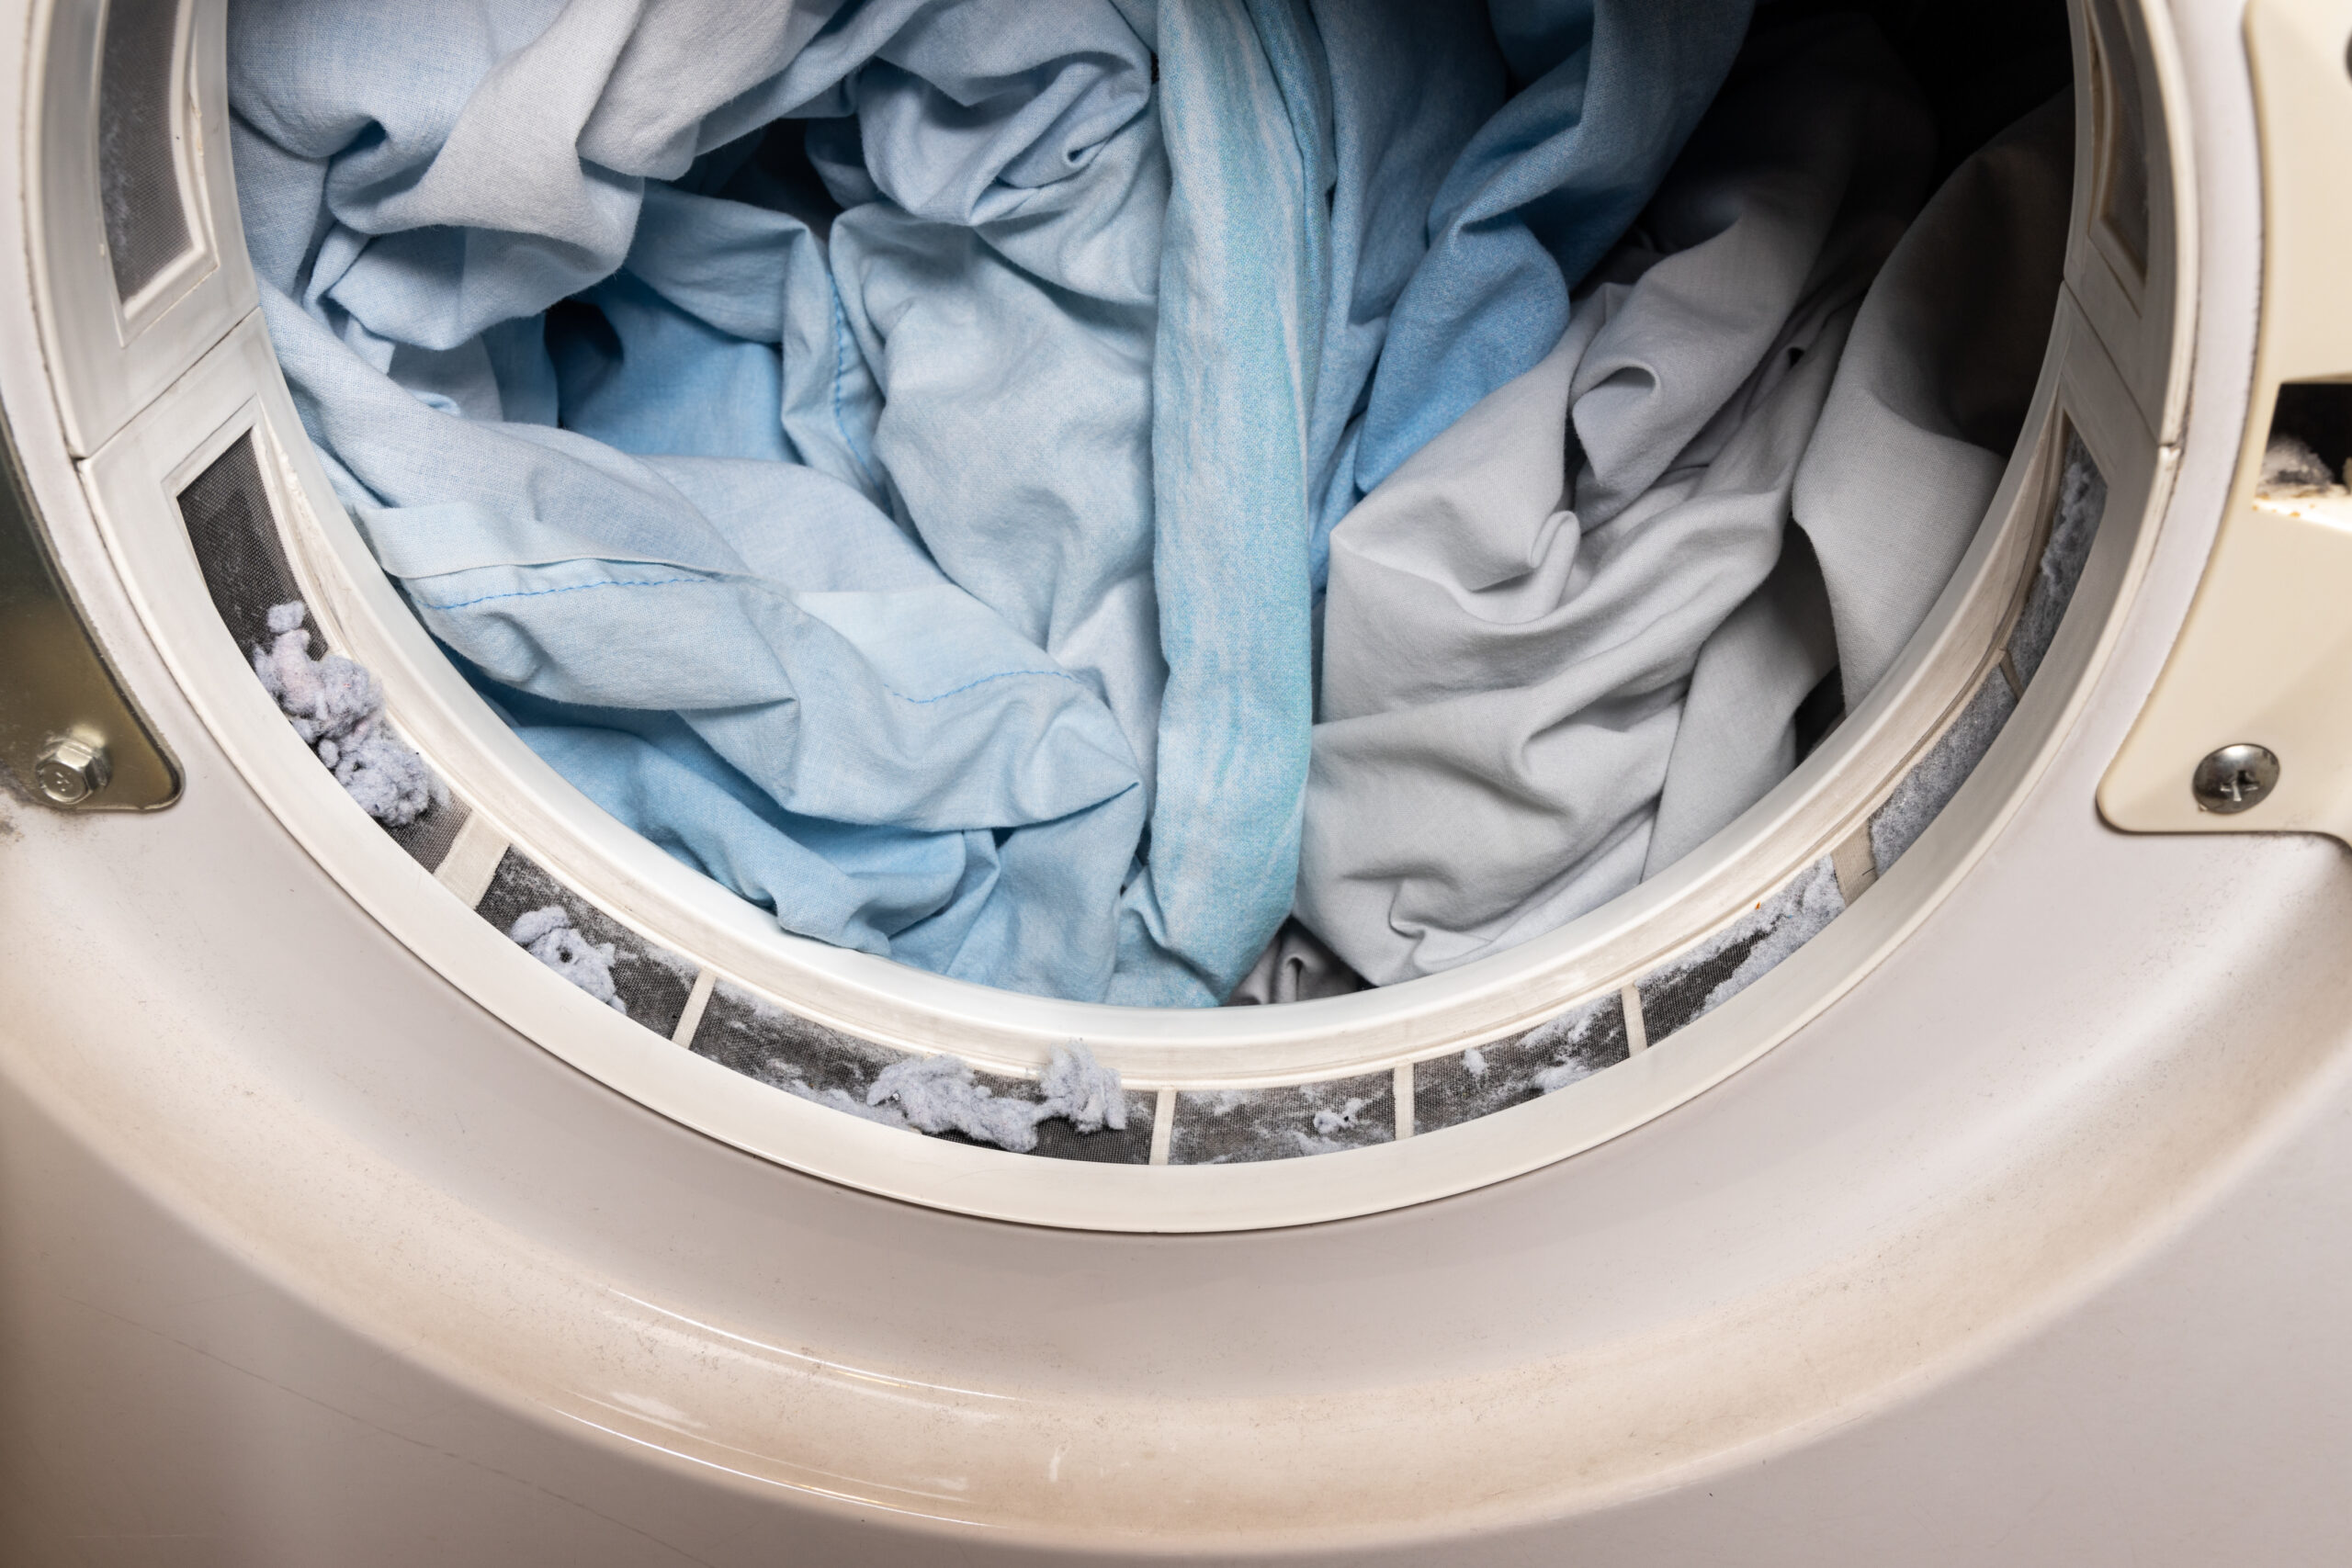
When it comes to dryer vent cleaning in Ottawa, one important aspect that often gets overlooked is cleaning the exterior trap. While cleaning the interior ducts is crucial for maintaining the efficiency and safety of your dryer, it is equally important to pay attention to the exterior trap. This area plays a significant role in preventing lint buildup and ensuring proper airflow. In this blog, we will discuss the importance of cleaning the exterior trap, provide step-by-step instructions on how to clean it.
Why Clean the Exterior Trap?
First, The exterior trap of your dryer vent is responsible for allowing air to flow freely while preventing debris and pests from entering the system. Over time, lint and other particles can accumulate in this area, leading to clogs and reduced airflow. Also, By regularly cleaning it, you can prevent these issues and maintain the efficiency of your dryer.
How to Clean the Exterior Trap
Moreover, Cleaning the exterior trap of your dryer vent is a relatively simple process that you can do on your own. Here are the steps to follow:
- Locate the exterior vent: First, Find the vent opening on the outside of your home where the dryer exhaust is released.
- Remove the vent cover: Also, Depending on the type of vent cover you have, you may need to unscrew it or simply lift it off. Be careful not to damage the cover during this process.
- Inspect the vent opening: In addition, Check for any visible signs of lint or debris. Use a flashlight if necessary to get a clear view.
- Remove the lint: Then, Gently brush away any lint or debris using a soft brush or a vacuum cleaner with a brush attachment. Be thorough in your cleaning to ensure all the buildup is remove.
- Clean the vent cover: Wipe down the vent cover with a damp cloth and mild detergent to remove any dirt or grime. This will help maintain its functionality and prevent rusting.
- Reinstall the vent cover: Finally, Once the vent cover is clean, securely reinstall the vent cover back in place.

