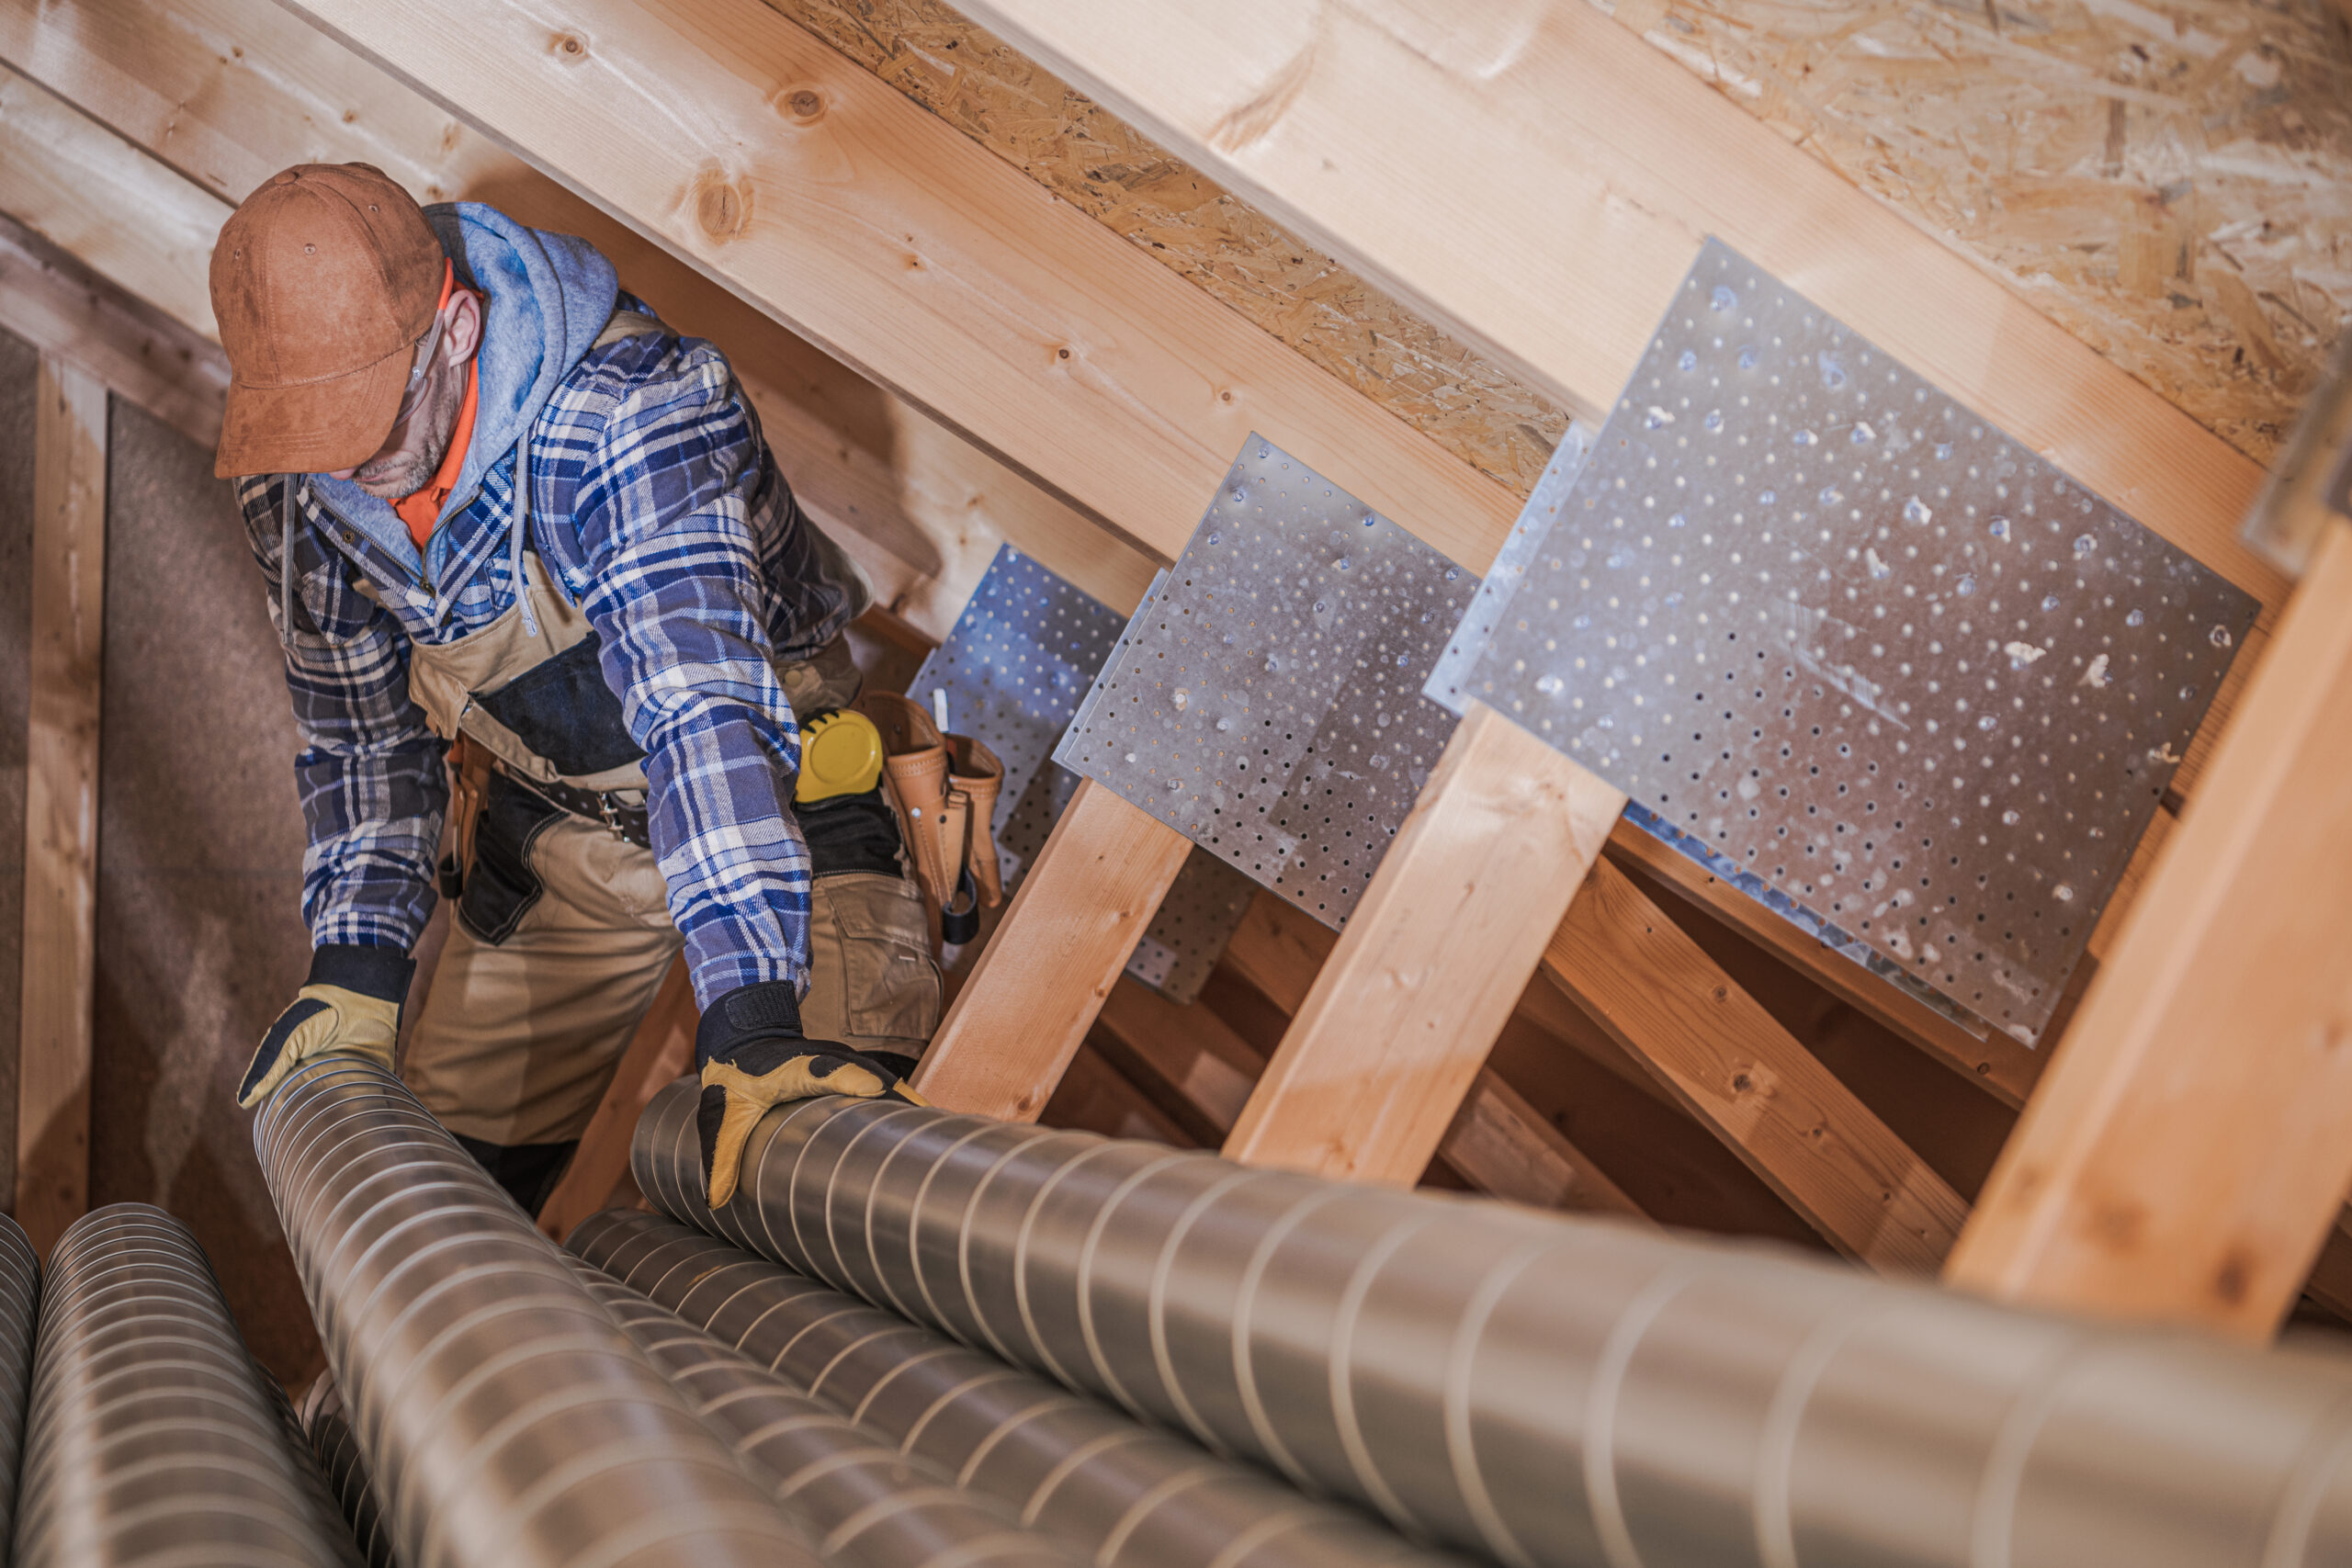
Multi-unit buildings, such as apartment complexes or condominiums, often face unique challenges when it comes to dryer vent cleaning. One effective solution for these buildings is the installation of flush-mount dryer wall vents. These vents offer several benefits and can help maintain the safety and efficiency of the dryer systems in multi-unit buildings. In this blog, we will explore the benefits and installation process of flush-mount dryer wall vents for multi-unit buildings.
Benefits of Flush-Mount Dryer Wall Vents:
Improved Safety:
Flush-mount dryer wall vents help reduce the risk of lint buildup and potential dryer fires. By providing a direct and efficient path for the dryer exhaust to exit the building, these vents minimize the chances of lint accumulation in the venting system.
Enhanced Efficiency:
Proper ventilation is crucial for the efficient operation of dryers. Flush-mount dryer wall vents allow for better airflow, reducing drying times and energy consumption. This can lead to cost savings for both the building owners and the residents.
Space Saving:
Flush-mount dryer wall vents are designed to be installed directly into the wall, eliminating the need for bulky and space-consuming external vent hoods. This can free up valuable space in laundry rooms or utility closets, making them more functional and aesthetically pleasing.
Noise Reduction:
Traditional external vent hoods can create noise disturbances, especially in multi-unit buildings where dryers are often located close to living spaces. Flush-mount dryer wall vents minimize noise transmission, providing a quieter environment for residents.
Installation Process of Flush-Mount Dryer Wall Vents:
Assess the Building:
Before installing flush-mount dryer wall vents, it is essential to evaluate the building’s layout and determine the most suitable locations for vent installation. Consider factors such as proximity to dryers, accessibility, and compliance with local building codes.
Choose the Right Vents:
Select flush-mount dryer wall vents that are compatible with the building’s construction and dryer systems. Ensure that the vents meet safety standards and have appropriate certifications.
Prepare the Wall:
Cut an opening in the wall at the chosen location for the vent. Follow the manufacturer’s instructions for the specific vent model being installed. It is crucial to maintain the integrity of the wall structure and properly seal the opening to prevent air leaks.
Install the Vent:
Securely attach the flush-mount dryer wall vent to the wall opening using the provided mounting hardware. Ensure a tight and secure fit to prevent air leakage. Follow the manufacturer’s guidelines for proper installation techniques.
Test and Inspect:
After installation, test the dryer system to ensure proper airflow and functionality. Conduct regular inspections and maintenance to keep the vents clean and free from obstructions.

