If you’re a condo owner looking to improve your indoor air quality and save some money, DIY duct cleaning might be an option worth considering. Transitioning to the benefits of DIY duct cleaning, not only can it help remove accumulated dust and allergens from your condo’s air ducts, but it can also enhance the overall performance of your HVAC system. In this blog post, we will provide you with a step-by-step guide to DIY condo duct cleaning, empowering you to take control of your indoor air quality.
Before you begin, gather the necessary tools and supplies.
Transitioning to the topic of tools and supplies, you’ll need a screwdriver, a vacuum cleaner with a brush attachment, a stiff-bristled brush, microfiber cloths, and a replacement air filter. These tools will help you effectively clean your condo’s ductwork and maintain proper airflow.
Start by turning off the HVAC system.
Transitioning to the first step, it’s crucial to ensure the HVAC system is turned off to prevent the circulation of dust and debris during the cleaning process. Locate the main power switch or circuit breaker dedicated to your HVAC system and switch it off to guarantee your safety.
Next, remove the vent covers.
Transitioning to the topic of vent cover removal, carefully unscrew and remove the vent covers from each room. Use the screwdriver to loosen the screws and keep them in a safe place for reinstallation later.
With the vent covers removed, it’s time to clean the vents and duct openings.
Transitioning to the topic of vent and duct opening cleaning, use the brush attachment on your vacuum cleaner to remove loose dust and debris from the vents and duct openings. Be thorough in your cleaning, ensuring you reach all corners and crevices.
Now, it’s time to tackle the ductwork.
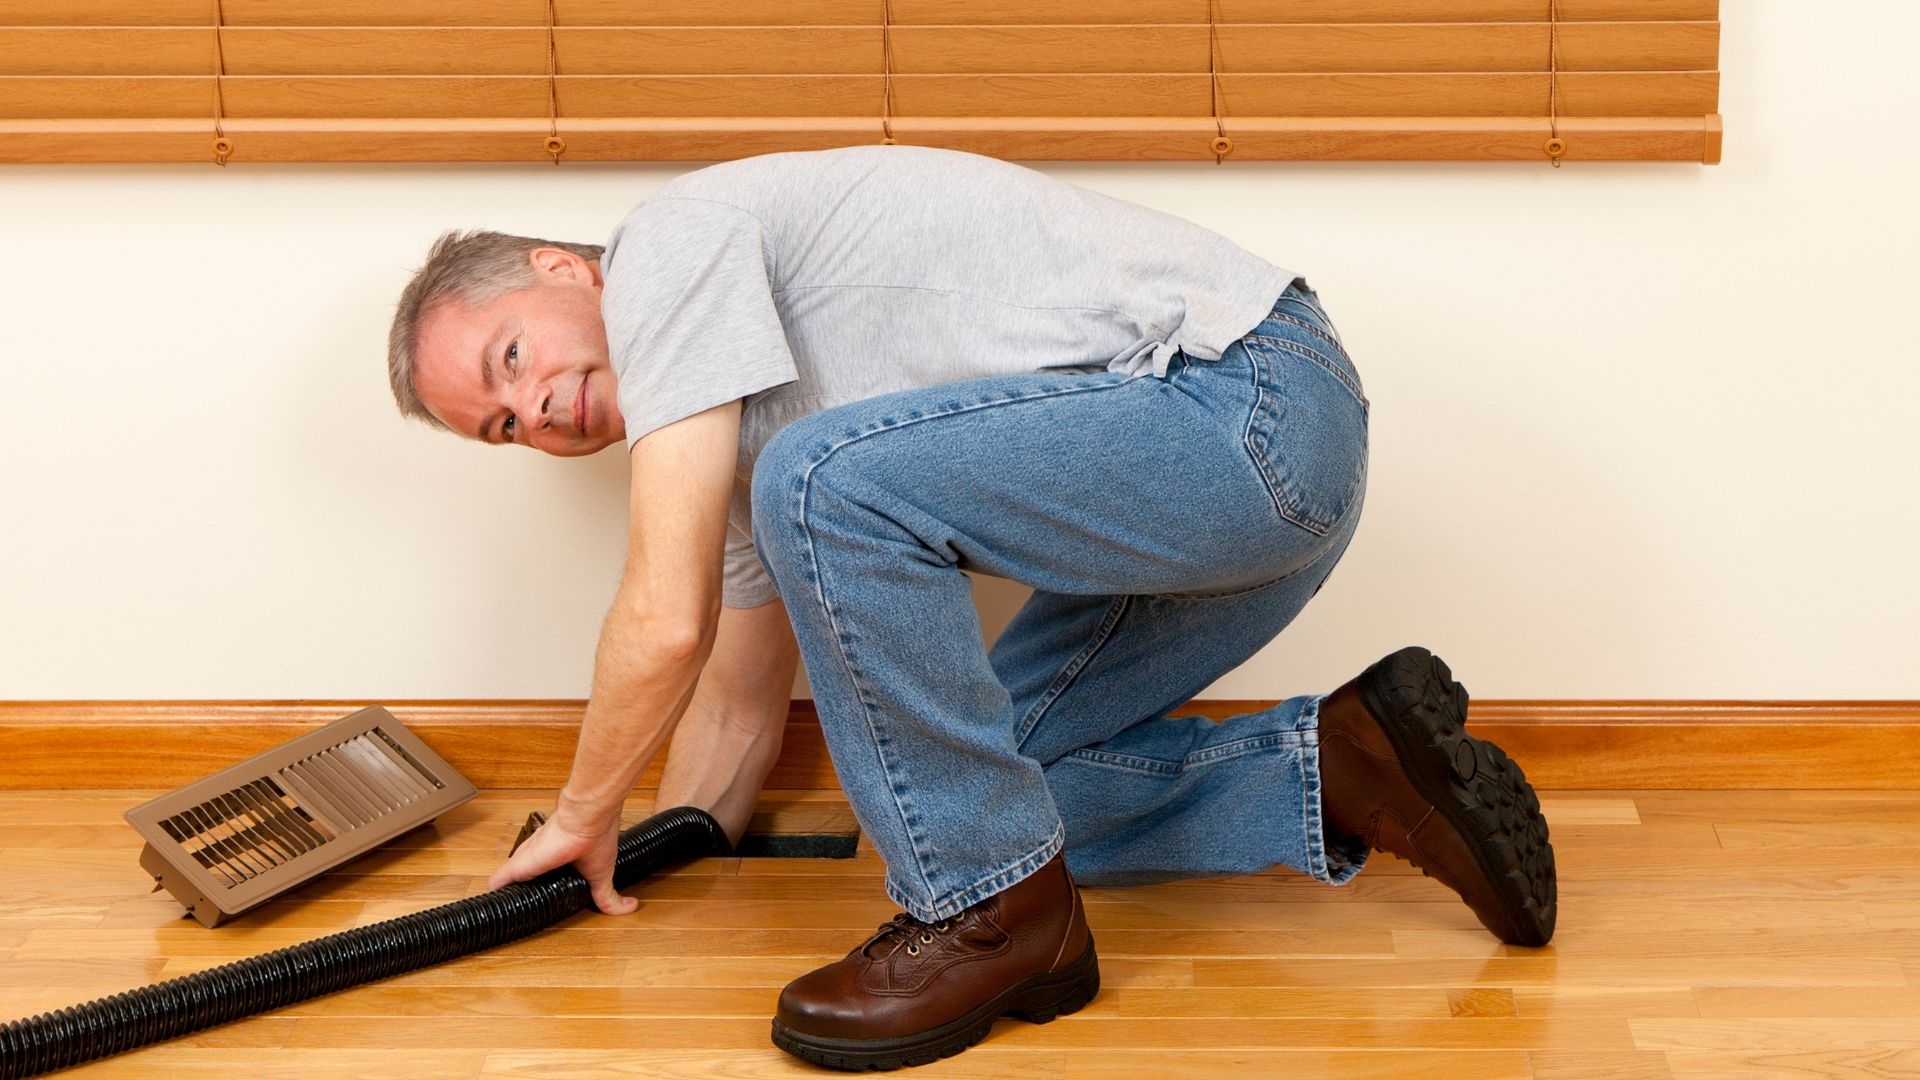
Transitioning to the topic of ductwork cleaning, insert the vacuum cleaner hose into the ductwork as far as possible. Move the hose back and forth to dislodge any accumulated debris, effectively suctioning it out of the ducts. This process may require some patience and multiple attempts, especially if there is substantial buildup.
For stubborn debris, use a stiff-bristled brush to loosen it.
Transitioning to the topic of stubborn debris, gently scrub the sides of the ducts with the brush to dislodge any remaining dust or debris. Be cautious not to damage the ductwork while doing so.
After cleaning the ductwork, it’s time to clean the vent covers.
Transitioning to the topic of vent cover cleaning, use a microfiber cloth to wipe down the vent covers, removing any dust or dirt accumulated on them. For more stubborn grime, dampen the cloth with a mild cleaning solution.
Before reinstalling the vent covers, take the opportunity to replace the air filter. Transitioning to the topic of air filter replacement, remove the old filter and replace it with a new one. This ensures clean and efficient air circulation throughout your condo.
With the cleaning complete, reinstall the vent covers. Transitioning to the topic of vent cover reinstallation, align the covers with the openings and secure them in place with the screws you previously removed. Ensure a snug fit to prevent any air leakage.
Lastly, turn on the HVAC system and enjoy the benefits of your freshly cleaned ducts. Transitioning to the final step, switch on the HVAC system and relish the improved indoor air quality in your condo. You’ll likely notice cleaner air, reduced dust, and potentially even improved HVAC system performance.
In conclusion, DIY condo duct cleaning can be a rewarding and cost-effective way to enhance your indoor air quality. Transitioning to the final thoughts, by following these step-by-step instructions and taking the time to clean your ducts regularly, you can enjoy cleaner air, reduce allergens, and potentially prolong the life of your HVAC system.

