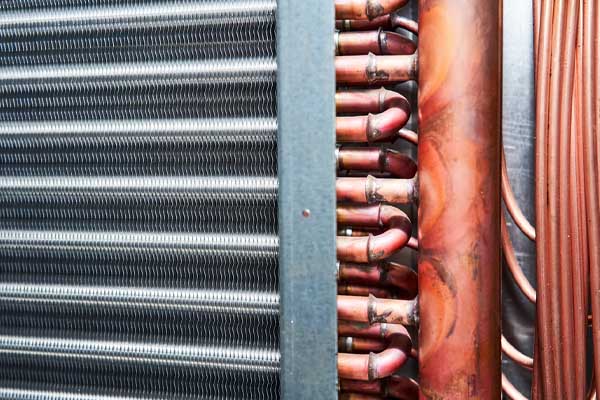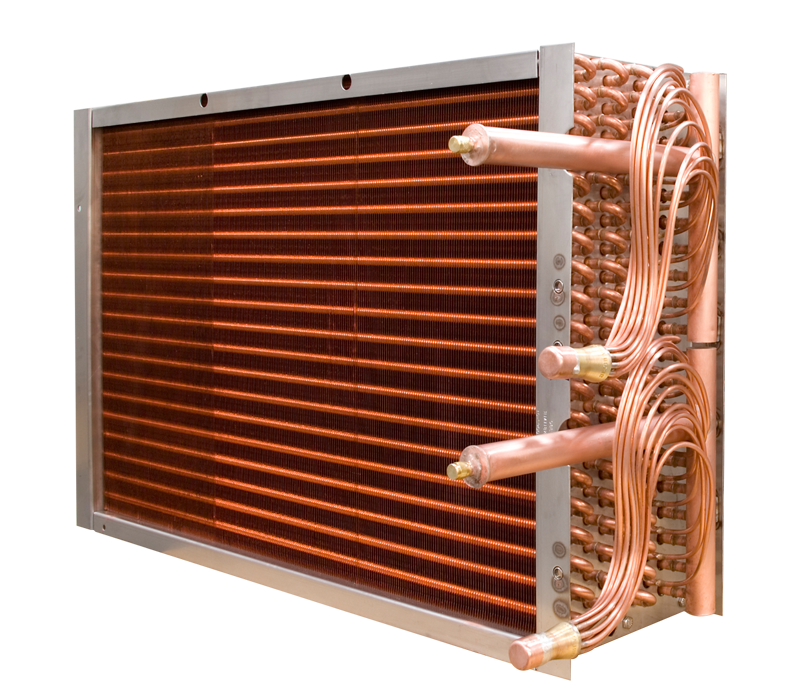
The time required for an evaporator coil inspection can vary depending on the condition of the coil, but typically ranges from 1 to 3 hours. Some key factors that affect inspection time include:
• Coil size and number of rows/circuits.
Larger coils with more rows and circuits tend to take longer to thoroughly inspect for damage. A small, basic coil may only take 1-2 hours while a large commercial coil could require 3 hours or more.
• Visible signs of damage or corrosion.
If the coil shows substantial rust, leak damage, cracking or other visible signs of major deterioration, the technician will need to do a deeper evaluation of how severely the coil is compromised. This can add time to the inspection.
• Hidden or internal damage.
While a visual inspection provides a good first look, some damage like erosion of coil fins or tubing can only be detected using special tools and tests. The technician may use dyes, tracers or electronic leak detection to check for hidden issues, extending the total inspection time.
• Coil cleaning required.
If the coil is excessively dirty or clogged, the technician will need to clean it before conducting a proper inspection. Coil cleaning adds additional time to the overall process. Proper cleaning and disinfection may also be recommended, further increasing time.
• Repairs or recommendations provided.
The technician may be able to provide estimates for any necessary repairs for replacement at the time of inspection. Discussing options and next steps will naturally extend the inspection duration.
• Complex system with multiple components.
For larger commercial systems like air handlers, the inspection will require more time to evaluate how each part is functioning and interacting. Multiple components can add significantly to total inspection hours.
In conclusion,the inspection is an important first step you take your time finding a certified HVAC technician and be prepared for an in-depth look at your system’s evaporator coil and other key components.

